What OCR actually does
Knowing how to extract text from an image turns out to be one of those small skills that pays off constantly. A receipt you need to expense, a screenshot of an error message you need to search, a whiteboard photo from a meeting, a page of a book you want to quote — in each case the words are trapped in pixels, and OCR (optical character recognition) — the letter-finding technique documented in Tesseract's official docs — is the way out. It is not magic and it is not perfect, but it is far better than retyping.
OCR in plain English: software looks at your image, finds shapes that look like letters, and guesses the text. Modern OCR is remarkably good at printed text — clean screenshots, typed documents, clear signage — where accuracy routinely lands above 95 percent. It struggles with handwriting, stylized fonts, and poor image quality, because those are exactly the cases where letter shapes stop being predictable. Set your expectations by the source, and you will rarely be disappointed.
The biggest lever on accuracy is image quality, and most of it is under your control. OCR reads pixels, so a crisp high-resolution image gives it clean letter shapes to work with. A blurry, tilted, shadow-covered photo of a page forces it to guess. Before running any extraction, ask one question: is the text itself sharp and readable in the image? If you can read it comfortably, the OCR probably can too. If you are squinting, fix the image first — or retake the photo. If the source photo itself is blurry or degraded, enhancing it with AI first can give the OCR cleaner letter shapes to work with.
Screenshots: the easiest win
Screenshots are the easiest case and the most common one. Text on a screenshot is rendered perfectly — no camera blur, no perspective distortion, no lighting problems. Take the screenshot at the largest size you can, because more pixels per letter means fewer misread characters. On a phone, that means zooming in on the text before screenshotting if the app allows it; on a desktop, it means capturing at full resolution rather than shrinking the window first.
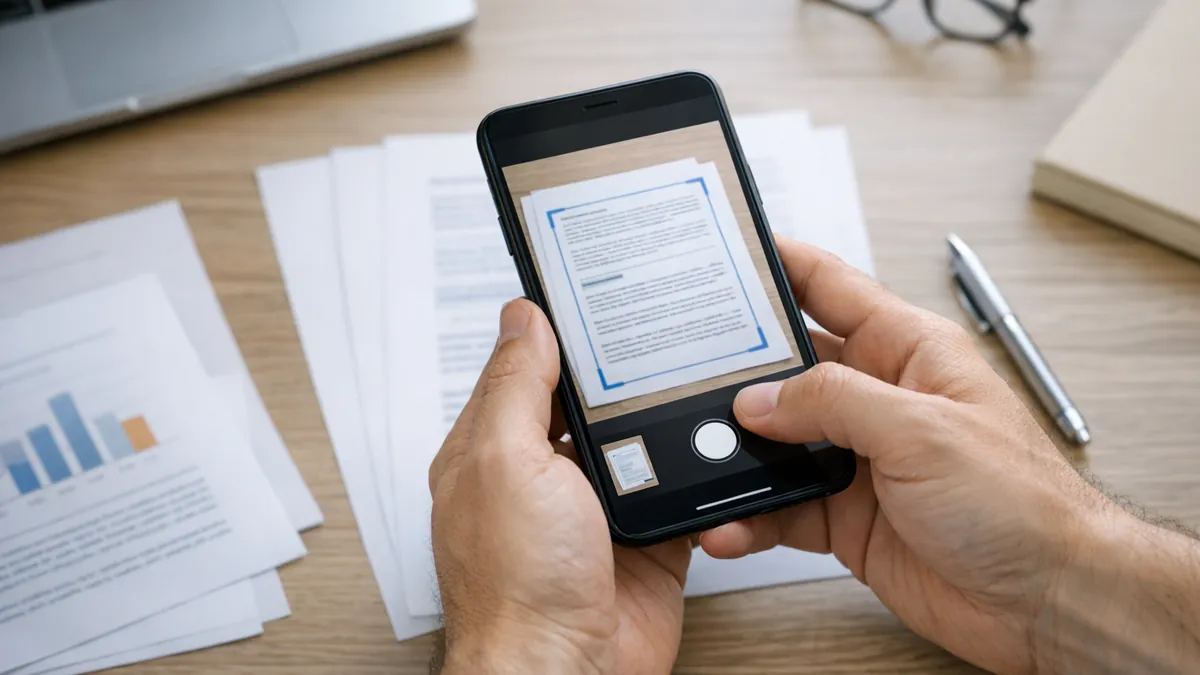
Photos of printed documents are the next rung down. The three killers are tilt, shadows, and glare. Shoot straight down at the page rather than at an angle — perspective distortion bends letter shapes. Get even light across the page so no half sits in shadow. And watch for glare from glossy paper or screens, which blows out patches of text entirely. Two seconds of care here saves ten minutes of cleanup later.
Handwriting, honestly
Handwriting is where honesty is required. Neat, block-style handwriting on a clean background extracts reasonably well. Cursive, cramped notes, or handwriting over lined or graph paper extracts poorly — expect to correct a large fraction of the words. Whiteboard photos are the classic middle case: they usually work if the writing is large and the photo is sharp, but marker strokes are uneven and the software will confuse similar letters. Treat handwriting OCR as a head start on transcription, not a finished transcript.
Language matters too. Most OCR tools default to English and handle it well. Many support other major languages if you select them. Mixed-language text, unusual scripts, and heavy use of symbols or math notation are all harder. If your text includes a lot of non-standard characters, check that your tool supports the language before blaming the results.
The actual extraction step is the easy part. FreeToolsBox's Image to Text Converter takes your image and returns the recognized text — upload the file, run it, copy the result. No software to install, nothing to configure. It is the right tool for the one-off jobs that make up most real-world OCR: the receipt, the screenshot, the single page.
For longer documents, work in pages, not in one giant image. A ten-page scan processed as ten separate images gives you ten manageable chunks of text to check, while one stitched panorama gives the OCR one confusing image and you one confusing output. Page by page also means a bad scan of page seven does not pollute the extraction of the other nine.
The cleanup workflow that matters most
Now the cleanup workflow, which is where the real work lives. No OCR output should be trusted blindly — even 95 percent accuracy on a 500-word page means roughly 25 wrong words, and they cluster in the worst places: proper names, numbers, and technical terms. Read the extracted text against the original image, watching especially for these error patterns.
The classic OCR confusions are worth knowing because they are predictable. The letter l, the digit 1, and the capital I get mixed up constantly. So do 0 and O, 5 and S, 8 and B, and rn misread as m. Punctuation vanishes — hyphens, apostrophes, and periods are the first casualties. Once you know the usual suspects, proofreading goes much faster: you stop reading every word and start scanning for the shapes the software gets wrong.
Numbers deserve special paranoia. An OCR error in prose is embarrassing; an OCR error in an invoice total, a phone number, or a date is expensive. Verify every digit against the source image, character by character, whenever the text will be used for anything consequential. This is the one non-negotiable step in the whole workflow.
Formatting never survives
Formatting never survives extraction. Bold, italics, headings, tables, columns — OCR returns plain text in reading order, and reading order is sometimes wrong, especially with multi-column layouts or text wrapped around images. Expect to reapply formatting yourself. For tables, the practical approach is to extract the text and rebuild the table by hand; no free OCR tool reconstructs complex layouts reliably.
Privacy is the part people forget. That receipt has your card number, that screenshot has your login session, that whiteboard photo has your company's roadmap. Browser-based OCR tools process your image somewhere — check whether the tool processes locally or uploads to a server, and avoid uploading images with sensitive data to tools you have not vetted. When in doubt, redact first: black out card numbers and passwords in any image editor before uploading.
A worked example shows the whole flow. You have a phone photo of a printed restaurant receipt and need the items in a spreadsheet. First, check the photo: the text is sharp, the lighting is even, no glare — good. Run it through FreeToolsBox's Image to Text Converter. The output captures most line items correctly but misreads the total's decimal point and merges two lines where the print was cramped. You fix those against the photo, verify every price digit, and paste the cleaned text into your spreadsheet. Five minutes of work replaces fifteen minutes of retyping — and the digit check is what makes it trustworthy.
A worked example: receipt to spreadsheet
For recurring jobs, build a tiny pipeline. If you extract text from receipts weekly, keep a consistent photo setup — same lighting, same straight-down angle — so every image is OCR-friendly from the start. Save cleaned outputs with the date in the filename. The extraction gets faster not because the software improves, but because your inputs get cleaner and your proofreading gets practiced.
Some images are simply not worth OCR-ing. A photo of a presentation slide taken from the back of a conference hall, a heavily compressed meme with warped text, a scan at 75 DPI — the output will be so garbled that retyping is faster. The two-minute test: run it, glance at the output, and if more than a word or two per sentence is wrong, type it manually. Knowing when to quit is part of the skill.
So the honest version of how to extract text from an image: start with the sharpest image you can, run it through a converter, proofread against the original with special attention to numbers, rebuild any formatting by hand, and keep sensitive images away from tools you have not checked. OCR does the tedious 90 percent; your judgment does the important 10 percent.
Built-in phone OCR, scanned PDFs, translation
Your phone probably has OCR built in already. iPhones can copy text directly from photos, and Android phones do it through Google Lens — point the camera at text, tap it, copy. For quick one-off grabs, these are faster than uploading to any website. The browser-based converter earns its place for batch jobs, longer documents, and cases where you want the text as a downloadable file rather than a clipboard snippet.
Scanned PDFs deserve their own note because they are images wearing a document costume. A scan of a contract saved as PDF is just pictures of pages — you cannot select or search the text until OCR runs. The workflow: process the PDF page by page through an OCR tool that accepts multi-page documents, and reassemble the text in order. Some scanners have an OCR option built in — turning it on at scan time skips the entire extraction step later. Our guide to making a scanned PDF searchable walks through the full page-by-page workflow.
Extracted text often has a second life as translated text. Once the words are out of the image, pasting them into a translation tool is trivial — far easier than translating from a photo. The caution is the same as always with machine translation: proofread the OCR output first, because a misread word translates into a confidently wrong sentence. Clean text in, clean translation out.