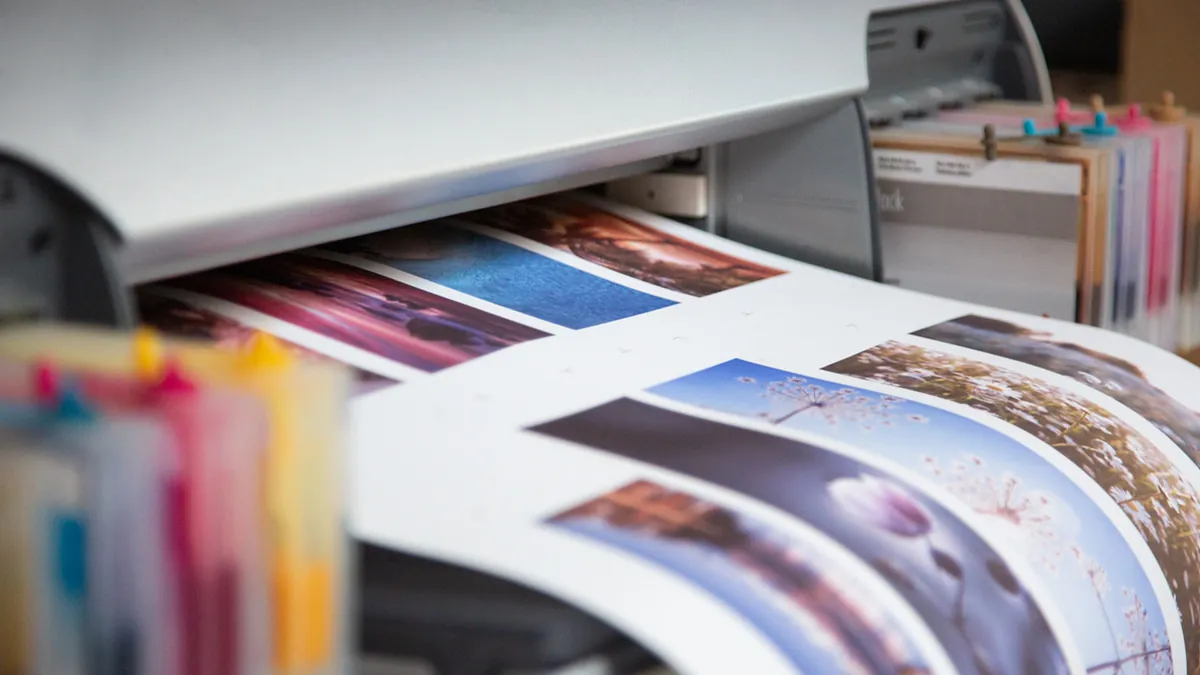
Pixels are data, DPI is instructions
Here is a question that confuses nearly everyone the first time they print a photo: “My camera says this image is 72 DPI. The print shop wants 300 DPI. Is my photo broken?” The answer is no, your photo is almost certainly fine, and the confusion comes from one of the most misunderstood pairings in all of digital imaging. Pixels and DPI sound like they measure the same thing. They do not.
The entire guide fits in one sentence: pixels are data, DPI is instructions. Your image file contains a grid of pixels — that is the actual data, the photograph itself. DPI, dots per inch, is a small note attached to the file telling the printer how tightly to pack those pixels onto paper. Same pixels, different DPI note, different printed size. The pixels never change; only the instructions do.
Start with pixels, because they are the real thing. A digital image is a grid of tiny colored squares. A photo that is 3000 pixels wide and 2000 pixels tall contains 6 million pixels — 6 megapixels — and that grid is the complete image. Nothing about inches, nothing about paper. If you email that file to someone in another country, the pixel grid arrives identical. Pixels are the photograph.
PPI vs DPI: the terminology tangle
Now DPI. When you print, those 6 million pixels have to land on physical paper, and somebody has to decide how big each pixel prints. That decision is the DPI value: 300 dots per inch means 300 pixels get packed into every inch of paper. Pack them tightly and the print is small and sharp; spread them out and the print is big and soft. DPI is not a property of the image — it is a printing instruction, and you can change it without touching a single pixel.
PPI versus DPI is a terminology tangle worth thirty seconds. PPI, pixels per inch, technically describes screens and digital images — how many image pixels fit in an inch. DPI, dots per inch, technically describes printers — how many ink dots the printer lays down per inch, and a printer typically uses many ink dots per image pixel (Wikipedia's overview of image resolution has the full technical breakdown). In practice, everyone in photography says DPI when they mean PPI, print shops included. When a print shop asks for “300 DPI,” they mean 300 image pixels per inch of print. Now you know more than most people giving the advice.
Myth one: “My photo is 72 DPI, so it will print badly.” Fact: the DPI number stored in your file is just metadata — a default note, usually 72, that cameras and software write because the field has to contain something. It says nothing about your photo's quality. A 6000-by-4000-pixel photo labeled 72 DPI contains exactly the same image data as the same photo labeled 300 DPI. Change the label and zero pixels change.
The only formula you need
Myth two: “I need to convert my image to 300 DPI before printing.” Fact: what the print shop actually needs is enough pixels. Setting the DPI field to 300 without adding pixels just changes the default print size on paper — the image data is untouched. What matters is the division we are about to do: pixels divided by DPI equals inches.
Here is the math, and it is the only formula in this guide: print width in inches = pixel width ÷ DPI. Print height in inches = pixel height ÷ DPI. Take that 3000-by-2000 photo. At 300 DPI it prints at 10 inches by 6.7 inches. At 150 DPI it prints at 20 inches by 13.3 inches — twice as large, with the pixels spread twice as thin. Same file, two different prints, and the only thing that changed is the instruction.
So where does the famous 300-DPI rule come from? It comes from offset printing — magazines, brochures, books — where decades of testing settled on roughly 300 pixels per inch as the point where the human eye, at normal reading distance, stops seeing individual dots and sees a continuous image — Cambridge in Colour's resolution tutorials walk through the reasoning. It became the industry's safety standard, and then it escaped into folk wisdom as a universal law. It is a good rule, but it is a rule about viewing distance, not a law of physics.
Viewing distance changes everything
Viewing distance is the part everyone skips. A magazine is held about a foot from your face, so it needs dense pixels — 300 per inch. A poster on a wall is viewed from several feet away, so 100 to 150 pixels per inch looks perfectly sharp, because your eye cannot resolve finer detail at that distance. A billboard by a highway might be printed at 20 pixels per inch and look flawless to drivers. The further the viewer, the fewer pixels per inch you need. Resolution is always relative to eyeballs.
Now the phone-photo math, because this is the real-world question. A typical modern phone shoots around 12 megapixels — roughly 4000 by 3000 pixels. Divide by 300 DPI: that prints at about 13.3 by 10 inches at full magazine quality. An 8-by-10-inch print at 300 DPI needs only 2400 by 3000 pixels — about 7 megapixels. Your phone photo has nearly twice that. For standard photo prints — 4×6, 5×7, 8×10 — any phone from the last decade has pixels to spare.
Direct answers for “what DPI for printing”: photo prints and anything held in the hand, 300. Posters viewed from a few feet, 100 to 150. Banners and signage viewed from across a room or street, 50 to 100 or even less. Canvas wraps, where the texture hides fine detail anyway, around 150. These are targets for the division — pixels divided by intended print size — not magic numbers to stamp on files.
Myths that waste your time
Myth three: “I can just upscale my small image to 300 DPI and it will be fine.” Fact: resampling invents pixels by guessing. Going from 72 to 300 in the DPI field alone changes nothing; actually upscaling the pixel dimensions — say, stretching 800 pixels into 2400 — forces the software to fabricate detail that was never captured. Modern AI upscalers do this more convincingly than old bicubic stretching, but they are still guessing. You cannot print detail the camera never recorded.
This is also why the classic mistake happens in reverse: someone downloads a 800-by-600 image from a website, sets it to 300 DPI, and wonders why the 8-by-10 print looks soft. The DPI field said 300, but 800 pixels divided by 300 is 2.7 inches — the file only had enough data for a print the size of a playing card. It was never the DPI number that doomed it. It was the pixel count, and no metadata edit can fix that.
Here is the other direction people get wrong: DPI is meaningless on screen. A 1200-pixel-wide image displays at 1200 pixels wide whether its DPI field says 1 or 1000. Screens do not read the instruction; they just show pixels. So if someone tells you to “save web images at 72 DPI,” they are repeating a ritual from the 1990s Macintosh era. For anything on screen, only the pixel dimensions matter.
DPI is meaningless on screen
Scanners are the one place where DPI means something at capture time. When you scan a printed photo at 300 DPI, you are telling the scanner to record 300 pixels for every inch of the original — a 4-by-6 print becomes 1200 by 1800 pixels. Scan at 600 and you get 2400 by 3600. Choose based on what you will do with the scan: 300 is plenty for reprinting at the same size, 600 gives you headroom to enlarge or crop. Scanning higher than you need just makes enormous files — run the result through Image Compressor if the scan is destined for screen rather than print.
A practical workflow ties this together. Decide your print size first — say 8 by 10 inches. Multiply by your target DPI — 300 — to get the pixels you need: 2400 by 3000. Check your image's actual pixel dimensions. If you have at least that many, you are good; set the DPI field to 300 if your print shop's software wants it, and print. If you are short, either print smaller, accept a lower effective DPI for a distant-viewed piece, or pick a different image.
When you need to hit exact pixel dimensions for a print — 2400 by 3000 for that 8-by-10, say — FreeToolsBox's Image Resizer gets you there without photo-editing software. Resize to the pixel count the math demands, and the DPI question largely answers itself. Remember that resizing down is safe and resizing up is guessing, so start from the largest original you have.
A practical print workflow
What do print shops actually ask for, and why? Usually “300 DPI at final size” — meaning they want the division to work out: your pixel dimensions divided by the print dimensions should land near 300. Some shops accept 150 for large formats. Nobody at a competent shop cares what number is typed in the file's DPI metadata field; they care whether the pixels exist. If a shop rejects your file over the metadata number alone, that tells you something about the shop.
Two fine-print details for the careful: bleed and canvas wraps. Professional printing often needs bleed — extra image area beyond the trim edge, typically an eighth of an inch per side — so include it in your pixel math. Canvas gallery wraps need even more, since inches of image fold around the frame's edges. Ask the printer for their spec sheet; the math is the same division, just with slightly larger target inches.
What print shops actually check
Let us close the loop on the opening question. Your “72 DPI” photo is not broken — the 72 is a meaningless default label. Count your pixels, divide by your intended print size, and compare against 300 for hand-held prints or 100-plus for posters. If the division works, print with confidence. Pixels are the photograph; DPI is just the note that tells the printer how big to make it. Once you see the two as separate things, they can never confuse you again.