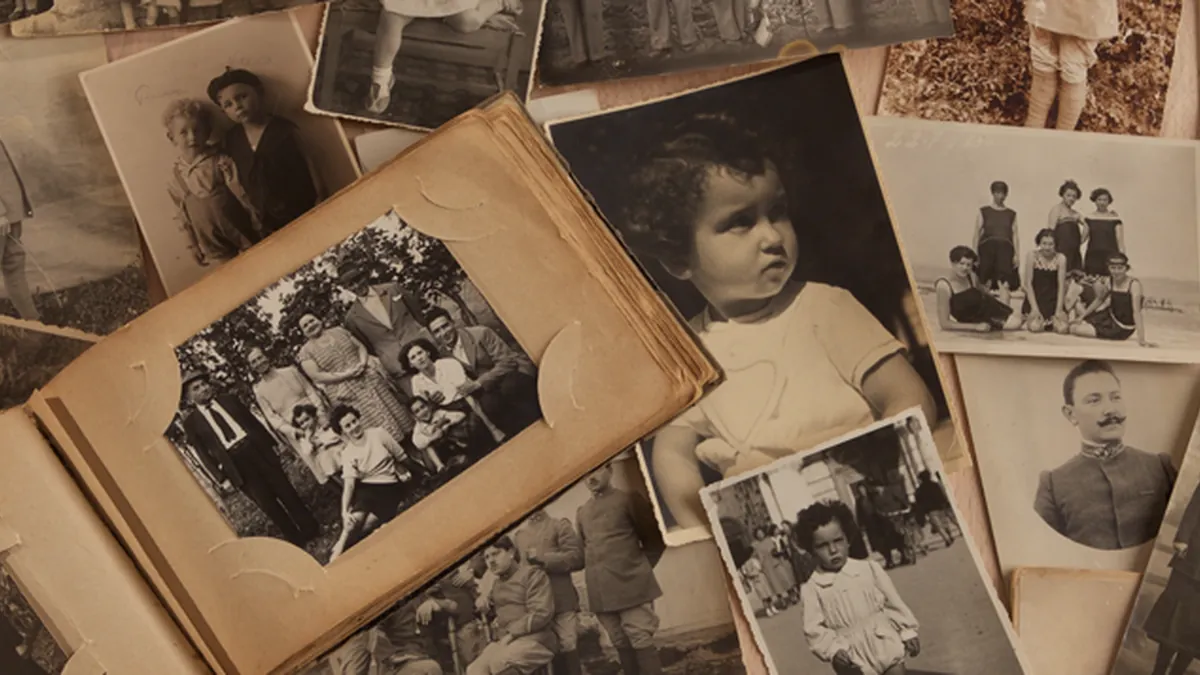
What AI upscaling actually does
To enhance a photo with AI is to ask software to invent detail that is not quite there — and the honest truth is that it works beautifully on some photos and fails on others. A slightly soft family snapshot from 2008 can come back looking remarkably crisp. A thumbnail-sized image blown up to poster size will come back looking like a watercolor painting of your memory. Knowing which photos are rescuable, and what “enhanced” actually means, saves you from both disappointment and wasted money on tools that promise miracles.
Start with what AI upscaling really does. It does not recover the original detail — that information is gone the moment the photo was taken or compressed. Instead, the model looks at blurry shapes and predicts what sharp detail probably looked like, based on millions of photos it has seen. On a slightly out-of-focus face, the prediction is usually excellent. On text, fine patterns, or anything the model has rarely seen, the prediction can be confidently wrong: readable-looking text that says nothing, fabric textures that turn to mush, backgrounds that melt into surreal smears.
This is why expectations need calibrating before you upload anything. AI enhancement is reconstruction, not restoration. It guesses. Most of the time the guesses are good enough that nobody notices; sometimes they are visibly artificial — the infamous “plastic skin” look on faces, where every pore has been smoothed into mannequin perfection. If your goal is a natural-looking photo rather than a maximally sharp one, you will often prefer a lighter enhancement setting to the maximum.
Which photos are worth enhancing
The photos that respond best share a few traits: they are only mildly blurry or low-resolution, the subject is a common one (faces, pets, landscapes), and there is no heavy compression damage. A 2-megapixel photo upscaled to 8 megapixels usually looks genuinely better. The photos that respond worst: extreme blur from camera shake, tiny thumbnails under a few hundred pixels wide, heavy JPEG artifacts from repeated re-saving (our WebP vs JPEG vs PNG guide explains which format suits what), and images where the important detail is text. Match your effort to the photo's potential — triage first, enhance second.
Before you enhance, do the free fixes. Crop out the distracting edges — a tighter crop on the subject often does more for a photo than any AI pass. Straighten the horizon. Fix the exposure if the image is dark, because upscalers work with the pixels they are given and dark, noisy pixels enhance into dark, noisy detail. Ten minutes of basic cleanup in any free editor gives the AI a better starting point and gives you a better result.
Run the enhancement pass
Now the enhancement pass itself. Upload the cleaned photo to an AI upscaler — FreeToolsBox's Image Upscaler handles the standard workflow: upload, pick an enhancement level, and download the result. (Adobe's image upscaling guide covers the same principles if you use another tool.) Start with a moderate setting rather than the maximum. Compare the result against the original at 100 percent zoom, not just in the preview thumbnail — previews lie. Zoom into faces, text, and patterned areas, because that is where the model's guesses show.
Judge the result with fresh eyes after a break. Right after enhancing, everything looks sharper and your brain rewards the improvement. Come back in an hour and look again: does the skin look like skin, or like plastic? Do the eyes look natural? Is there weird texture in the background that was not there before? The flaws that matter are the ones visible at the size the photo will actually be viewed — a phone screen forgives far more than a printed enlargement.
Faces need special caution
Faces deserve special caution. Face-enhancement models are trained overwhelmingly on certain demographics, and they can subtly alter features — changing the shape of eyes, smoothing away distinctive marks, even shifting perceived age or ethnicity. On a cherished family photo, that is not enhancement, it is revision. If the face comes back looking like a slightly different person, dial the enhancement down or mask the face out of the AI pass and enhance only the rest of the image.
Old scanned prints have their own playbook. Scan at the highest resolution your scanner allows — you cannot enhance detail the scan never captured. Clean dust and scratches first; upscalers faithfully enlarge every speck of dust into a sharp, prominent speck. Work from the original scan, not from a copy that has been through messaging apps, because each round of compression throws away detail the AI could have used. The scan is the negative; treat it accordingly.
Heavily damaged photos — deep blur, motion shake, extreme noise — are where you should stop and reconsider. No current AI tool can genuinely reconstruct a face from a smear; what you get is a plausible stranger assembled from the model's training data. For photos with sentimental value, a soft but honest original beats a sharp fabrication. Enhancement should clarify what is there, not invent who was there.
If you are working through a whole album, triage ruthlessly before enhancing anything. Sort the photos into three piles: worth enhancing, fine as-is, and beyond rescue. Enhance in batches with consistent settings so the album has a uniform look — jumping between maximum enhancement on one photo and light touch on the next produces a jarring set. And resist the urge to enhance everything: a lightly soft candid often has more charm untouched than over-processed.
Printing enhanced photos has one rule that surprises people: viewing distance matters more than DPI (DPI vs pixels explains what actually matters for print). A print viewed from across the room needs far less resolution than one examined up close, so do not chase 300 DPI on a large enlargement — the math will tell you it is impossible and you will over-enhance trying. For standard 4x6 or 5x7 prints, a moderately upscaled file is plenty; for anything larger, get a test strip printed before committing to the full size.
AI colorization of black-and-white photos is a separate temptation worth treating carefully. The colors are guesses — educated guesses, but guesses — and a colorized photo is an interpretation, not a restoration. If you colorize, keep the black-and-white enhanced version as the master and treat the color version as a derivative. Future viewers, including family, deserve to know which version is closer to the original.
Compress for the destination
Once the photo looks right, you face the opposite problem: the enhanced file is now large, often several megabytes, which makes it slow to share and painful to attach. This is the second half of the workflow, and it matters more than people think — an unshared photo might as well not exist. Run the enhanced image through FreeToolsBox's Image Compressor to shrink it for its destination: a smaller file for messaging apps and social media, a higher-quality version for printing or archiving.
Match the compression to the destination. A photo headed to a family group chat can be compressed aggressively — phone screens hide a multitude of sins, and a 300-kilobyte image sends instantly where a 6-megabyte one stalls. A photo headed for printing should stay as large as practical, because print reveals everything. Keep the full-quality enhanced master archived, and generate compressed copies for sharing. Storage is cheap; re-enhancing from scratch is not.
Watch out for double compression
Beware double compression on messaging apps. WhatsApp, Messenger, and similar apps compress every photo you send as a regular image — so if you carefully compress an enhanced photo and then send it normally, it gets compressed twice and the quality drops noticeably. On WhatsApp, send important photos as a document instead of a photo to skip the second compression pass. One deliberate compression beats two accidental ones.
Name your versions clearly or you will lose track. A simple convention — original, enhanced master, and share-ready, each with the date — prevents the all-too-common disaster of overwriting the original with the enhanced copy and then having nothing to re-work from. Folders are free; regret is expensive.
The complete workflow
The complete workflow in order: triage the photo honestly, do basic cleanup first, enhance at a moderate setting, inspect at full zoom after a break, watch faces for alteration, keep expectations proportional to the original quality, archive the enhanced master, and compress copies for each sharing destination. Eight steps, and the two FreeToolsBox tools slot into exactly two of them — upscaling for the rescue, compression for the delivery.
A few practical notes on cost and privacy. Many AI enhancers are free for basic use and charge for high-volume or maximum-quality processing (Topaz Labs is one of the best-known paid options); start free and pay only if the free tier's results genuinely satisfy you. And remember that uploading personal or family photos to any online tool means a copy lives on someone else's server — read the privacy policy, prefer tools that delete uploads, and think twice about photos of children or anyone who has not consented.
Know when to hand the job to a human. AI handles global softness and mild noise well, but torn prints, water damage, missing corners, and badly faded color need a retoucher — a person who can rebuild what is missing rather than guess at it. A hybrid approach works best: AI for the initial enhancement, a human for the damage repair. For irreplaceable photos, the retoucher's fee is money well spent.
One last alternative for prints you cannot scan properly: re-photograph them. A modern phone camera, a print laid flat in soft indirect daylight, and a steady hand can produce a surprisingly good digital copy — sometimes better than a cheap flatbed scan. Straighten and crop in your phone's editor, then run the result through the normal enhance-and-compress workflow. It is not archival quality, but for sharing with family it is more than enough.
Finally, keep the originals. Every enhancement is a guess layered on top of your photo, and future tools will guess better. The blurry original you have today is the raw material for the superior upscaler of next year. Archive originals, enhanced masters, and share-ready compressed copies as three separate files, and you will never have to choose between them again.