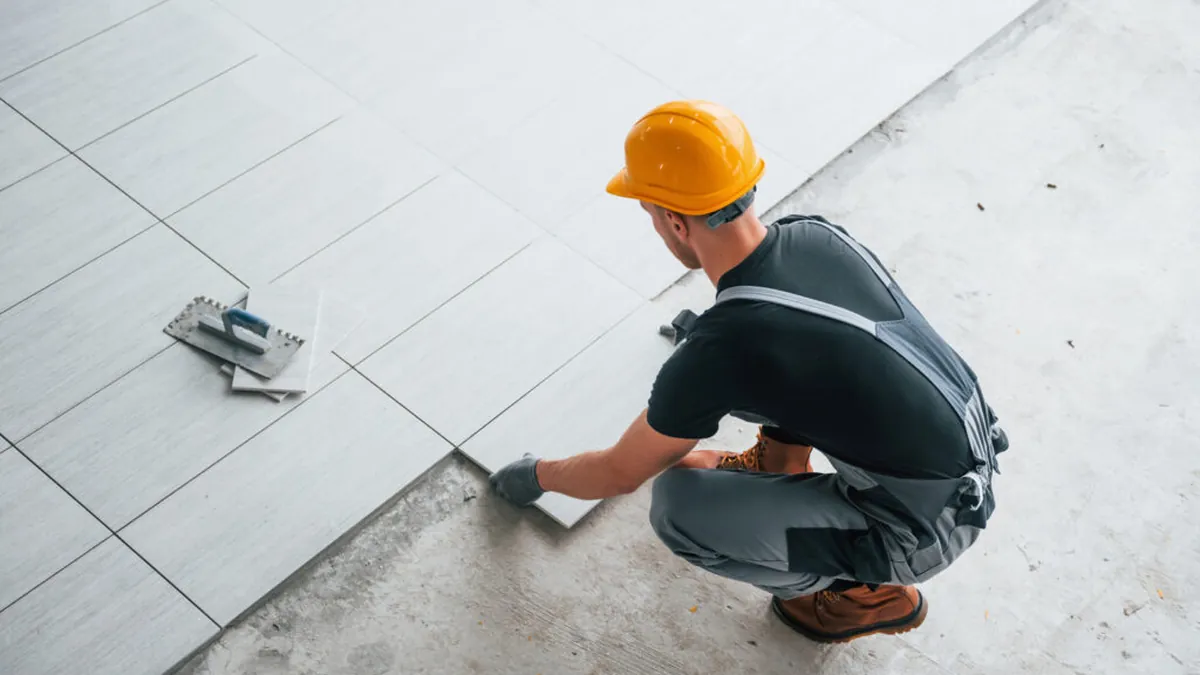
To work out how many tiles you need, divide the area to be tiled by the area of one tile, add a waste allowance for cuts and breakage — about 10 percent for a straight layout, 15-20 percent for diagonal or herringbone patterns — then divide by the number of tiles in a box and round up. For example, a 120 sq ft bathroom floor with 12 × 24 in tiles needs 60 tiles before waste, 66 with 10 percent added, and 9 boxes when the tiles come 8 to a box. This guide explains each step, including why grout gaps barely change the count and why experienced installers always finish with a spare box.
Start by measuring the surface honestly. For a floor, multiply length by width in feet; for a wall, width by height; then add back any alcove, niche or return that will also be tiled, and subtract only large openings you are certain will stay bare, such as a window inside a backsplash. Most people tile under appliances and into closets rather than around them, so measure the whole rectangle unless the plan is fixed. A 10 × 12 ft bathroom floor is 120 sq ft, but the water-closet alcove might add 6 sq ft more — small additions like that are exactly what the waste allowance ends up absorbing. Once the area is settled, the tile calculator can run the rest of the steps, or you can follow the worked example below by hand.
Worked example: a 120 sq ft bathroom floor
Worked example: a 120 sq ft bathroom floor tiled with 12 × 24 in tiles in a straight grid. First, one tile covers 12 × 24 = 288 sq in, and since a square foot is 144 sq in, each tile covers 288 ÷ 144 = 2 sq ft. Tiles needed before waste: 120 ÷ 2 = 60 tiles. Add 10 percent for cuts and breakage: 60 × 1.10 = 66 tiles. Now the box step: if the tiles are sold 8 to a box, 66 ÷ 8 = 8.25, and since partial boxes are not sold, you round up to 9 boxes — 72 tiles on site, with the 6 extra tiles beyond the waste allowance becoming your cutting spares and future repair stock. Every tile estimate follows this shape: area, division, waste, boxes, round up.
Do grout joints change the tile count?
Homeowners often ask whether grout joints change the count, since a tile laid with a 1/8 in or 3/16 in joint effectively covers slightly more area than the tile alone. Strictly, yes: a 12 × 24 tile on a 3/16 in joint occupies a module of about 12.19 × 24.19 in, roughly 2.05 sq ft instead of 2.00, which would trim a large floor by a couple of tiles. In practice, installers ignore the difference and count by bare tile area, because perimeter cuts, out-of-square walls and breakage eat far more tile than the joints save, and the waste allowance already dwarfs the grout effect. The exception is tiny mosaic on sheets, which is sold by the sheet with the joint built in — there, count sheets by coverage area exactly as printed on the box.
Measuring walls, tubs and niches
Walls add their own small complications. A tub surround is three rectangles, not one, and the wall behind the tub flange starts a few inches lower than the visible rim. Fixtures do not subtract area — you tile behind a wall-hung vanity or toilet tank rather than cutting around it, because the count of full tiles is the same and the result looks intentional. Niches and shampoo shelves add their interior surfaces plus the extra cuts around them; count a niche as its own small project with a high cut rate. Borders and accent rows are ordered separately from field tile, by the piece or by the linear foot, and forgetting them is a classic mid-job shortage.
Waste percentages by pattern
Waste allowance is where pattern choice costs real money. Common installer guidance runs like this: a straight grid or running-bond layout in a simple rectangular room needs about 10 percent extra; a diagonal layout, where every perimeter tile is cut at an angle, needs about 15 percent; herringbone and other interlocking patterns, with cuts at both ends of most pieces and a fiddly start-up row, need about 15-20 percent. Rooms with many corners, curves, or a pattern that must center on a doorway push any of these figures higher. These are experienced rules of thumb, not guarantees — a skilled installer in a square room beats them, and a first-timer in a crooked room should add margin, not optimism.
Wherever your grout color decision lands, note that grout choice interacts with layout: a contrasting grout makes every cut and lippage line visible, which argues for cleaner cuts rather than more tiles. If you are matching grout or accent colors to a tile's printed hex code from a manufacturer's page, the hex to RGB converter translates those codes into the RGB values most paint and design tools ask for. None of this changes the tile count — but buying the right tiles and then framing them with a grout color you regret is its own kind of waste, and color checks cost nothing at the planning stage.
Box math: always round up
Box math deserves its own moment because it is where estimates quietly go wrong. Tiles are sold by the box, and the box tells you two numbers: pieces per box and coverage per box in square feet. Either works — pieces for the division in the worked example, coverage if your tile area came from a printed claim — but never mix a piece-count order with a coverage-based tile size from a different product, a mistake that happens when ranges share names across sizes. Also buy every box in one trip from one dye lot where possible: tile is made in batches, and a box bought months later can differ slightly in shade or caliber (actual size), a difference that shows up cruelly in the middle of a floor.
Worked example: a subway tile backsplash
The second worked example is a kitchen backsplash: 30 sq ft of wall, tiled with classic 3 × 6 in subway tiles. One tile covers 18 sq in = 0.125 sq ft, so the bare count is 30 ÷ 0.125 = 240 tiles. Subway tile is usually sold by coverage, so switch to areas: add 10 percent waste to the area instead — 30 × 1.10 = 33 sq ft — then divide by the box coverage. If the boxes cover 5 sq ft each, 33 ÷ 5 = 6.6, so buy 7 boxes. Same method, opposite direction: large tiles count naturally by the piece, small tiles by the box's printed coverage, and either route lands within a tile or two of the other.
Order the setting materials in the same pass, because their quantities hang off the same area. Thinset mortar coverage depends on trowel notch size — a bag covering roughly 60-90 sq ft at a 1/4 in notch covers far less under large-format tile set with a 1/2 in notch — so the tile size you just counted changes the mortar count too. Grout runs the other way: smaller tiles and wider joints mean more grout per square foot. None of this changes your tile count, but discovering a thinset shortage with a half-set floor is the expensive version of the same lesson. The coverage charts for your exact products outrank any general figure, so read the bags before you buy them.
Large-format tile: extra care, extra margin
Large-format tiles — anything with one edge 15 inches or longer — add three practical notes. First, they are sold in boxes of few pieces (4 to 8 is common), so each broken tile is a bigger fraction of your order, and the extra box matters more. Second, standards call for flatter floors under large tiles, and lippage (one edge sitting higher than its neighbor) becomes the visible defect; leveling clips and a proper trowel notch size are part of the job, not upsells. Third, the waste percentage assumes your cuts are good: a 24 in tile that must be scribed to a wavy wall can consume two tiles where a small tile consumes one offcut. If your room is old and out of square, budget toward the top of the waste range for large formats.
A word on returns and spares, because it affects how boldly you should round up. Most suppliers take back unopened boxes in good condition within a set window, which makes the extra box in the worked example nearly free insurance — buy it, store it flat and dry, and decide once the job is done. What you cannot get back is a discontinued tile you never bought: ranges turn over constantly, and the spare box in the closet is the difference between replacing one cracked tile and retiling a whole floor. Keep the spare box labeled with the range, shade and caliber codes from the box end; a photo of that label on your phone serves the same purpose years later.
The pre-order checklist
Before you order, run this checklist: measured the true area including alcoves; picked the tile and noted its exact coverage or pieces per box; chosen the pattern and its waste percentage; divided, added waste, and rounded up to whole boxes; added one spare box for future repairs — a cracked tile in five years is a five-minute fix with a spare and a discontinued-range hunt without one. And if the project sits on a screeded or leveled bed whose volume you also need, the cubic yard calculator handles that side of the order, with the full method in how to calculate cubic yards.
Common tile-counting mistakes
The most common mistakes are consistent: forgetting waste entirely and running out mid-job; rounding boxes down because the fraction looked small; mixing up a tile's nominal size with its actual size when computing coverage; assuming the waste percentage from a straight lay covers a herringbone; and failing to keep spares from the same dye lot. Avoid those five and the arithmetic itself is forgiving. To finish, enter your room and tile numbers into the tile calculator and confirm your hand count matches — two methods agreeing is the cheapest insurance against a Saturday-morning tile run.